How to Digitize Your VHS Tapes Using a Camcorder
A step-by-step guide to digitizing your VHS tapes using a camcorder on Mac and PC — no VCR required.
Your VHS camcorder has a built-in VCR. That means you don't need a separate VCR to digitize your tapes — the camcorder itself handles playback, and all you need is the right cable and software to capture the signal on your computer.
This guide covers the complete workflow for both Mac and PC.
What you need
- A working VHS camcorder with AV output
- AV cable — 3-RCA composite (yellow, white, red)
- USB capture card — EasyCAP or equivalent
- A computer — Mac or PC
- Free capture software — QuickTime (Mac) or OBS Studio (PC)
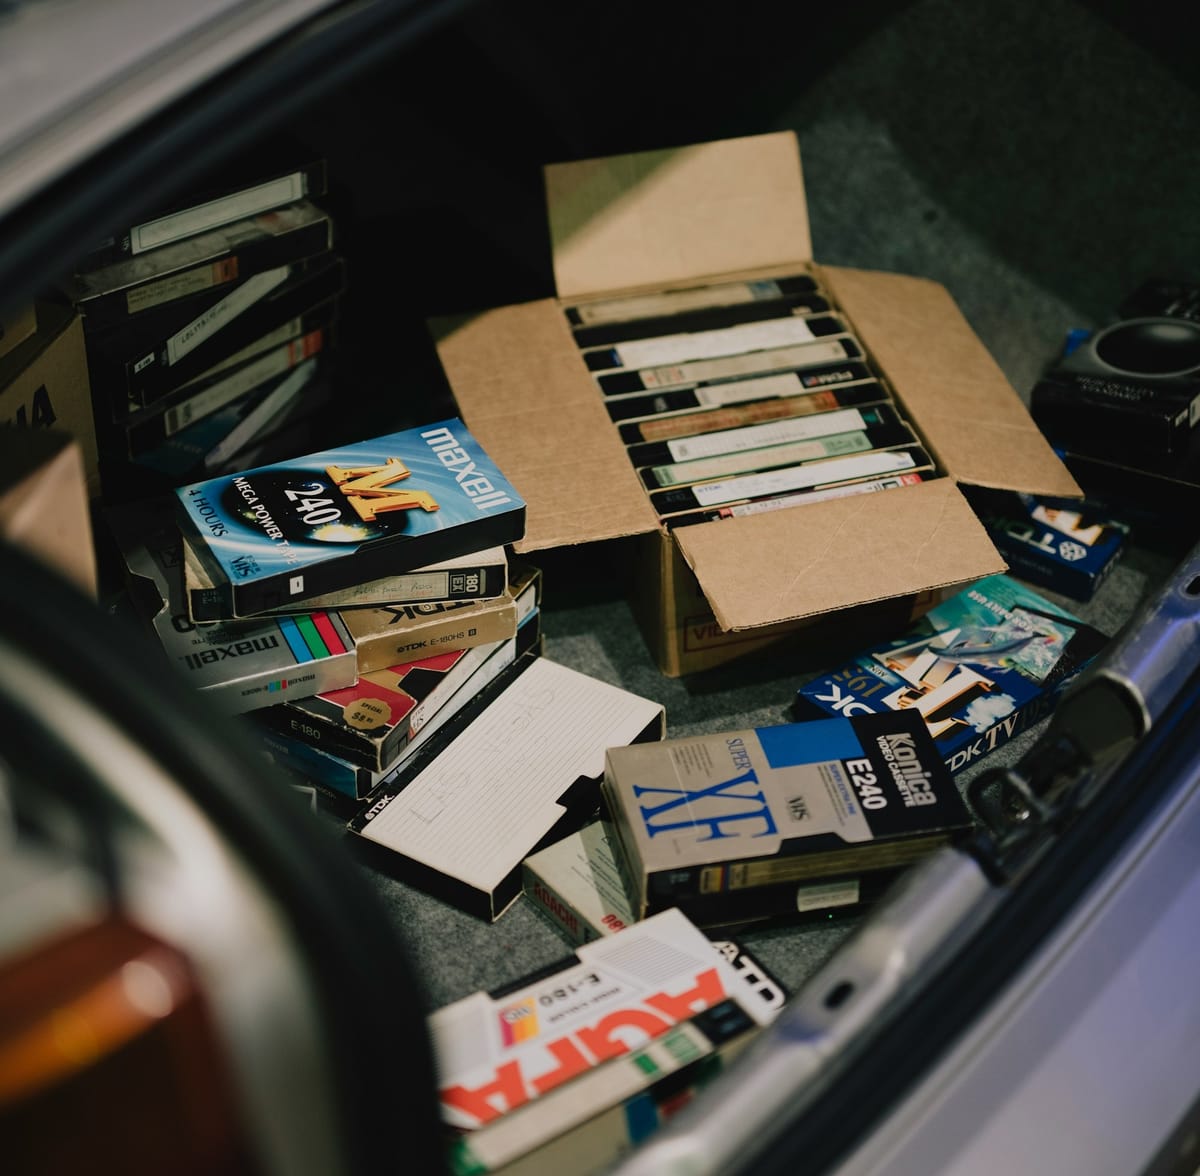
- A VHS tape to digitize
How it works
The camcorder plays your VHS tape and outputs the video and audio signal through its RCA jacks. The AV cable carries that signal to your USB capture card, which converts it into a digital signal your computer can record. Your capture software records that signal as a video file.
The result is a digital copy of your tape saved directly to your computer.
Step 1 — Connect your camcorder to your capture card
Take your AV cable and connect the three RCA plugs to your camcorder's AV output:
- Yellow → Video out
- White → Audio out left
- Red → Audio out right
Connect the other end of the AV cable to your USB capture card. Plug the capture card into your computer's USB port.
Step 2 — Set your camcorder to VCR mode
Most full-size VHS camcorders have a mode switch on the body — look for a setting labeled VCR, Play, or VCR/Play. Switch to this mode.
Insert your VHS tape and press Play. You should see the tape playing in the camcorder's viewfinder.
Step 3 — Open your capture software
On Mac — QuickTime Player:
- Open QuickTime Player
- Go to File → New Movie Recording
- Click the dropdown arrow next to the record button
- Under Camera select your USB capture card
- Under Microphone select your USB capture card
- You should see your tape playing in the QuickTime window
- Press the red Record button to start capturing
- Press Stop when the tape ends
- Go to File → Save to save your file
On PC — OBS Studio:
- Download and open OBS Studio (free at obsproject.com)
- In the Sources panel click + and select Video Capture Device
- Name it and click OK
- Select your USB capture card from the device dropdown
- Click OK — you should see your tape playing in the preview window
- Click Start Recording in the Controls panel
- Click Stop Recording when the tape ends
- Your file saves automatically to your designated folder
Step 4 — Review and save your file
Once recording is complete play back your captured file and check:
- Video is clean with no major signal dropout
- Audio is present on both channels
- The full tape was captured
Save your file to a backup location — external hard drive, cloud storage, or both. VHS tapes deteriorate over time. Once digitized, the digital file is your permanent record.
Tips for a clean capture
Rewind fully before capturing — always start from the beginning of the tape to avoid missing footage.
Clean your camcorder heads — dirty heads produce fuzzy, streaky, or dropout-heavy video. A VHS head cleaning cassette run before digitizing can significantly improve image quality.
Use a dedicated VCR for heavy digitizing — if you're digitizing large tape collections, consider using a dedicated VCR rather than your camcorder. Playing back tapes puts wear on your camcorder's tape transport and heads. A camcorder with irreplaceable heads is worth protecting.
Don't use the battery — run your camcorder on AC power during long digitizing sessions. Battery drain mid-capture means a lost recording.
Capture at full quality — don't compress during capture. Save the raw file first, then compress copies for sharing if needed.
What you need to get started
We carry fully tested digitizing kits at 1HR Photo Express — everything you need to connect your camcorder to your computer and start capturing.
→ Browse digitizing kits in our store
Presented by 1HR Photo Express — keep analog alive.